- Thread starter
- #21
Thanks BeezLuiz! Probably under $25 not counting the hole sawNice write-up, Shed.. I'm curious: About how much all the parts ended up costing you?
") .
.How To Use Progressive Web App aka PWA On 420 Magazine Forum
Note: This feature may not be available in some browsers.
Thanks BeezLuiz! Probably under $25 not counting the hole sawNice write-up, Shed.
.CHecking out your sweet cloneator Shed. Do you use a dome?How to build my cloninator aeroponic cloning bucket! This is the original but I've made a few modifications since then. I'll put those at the end in case you'd like to try them.
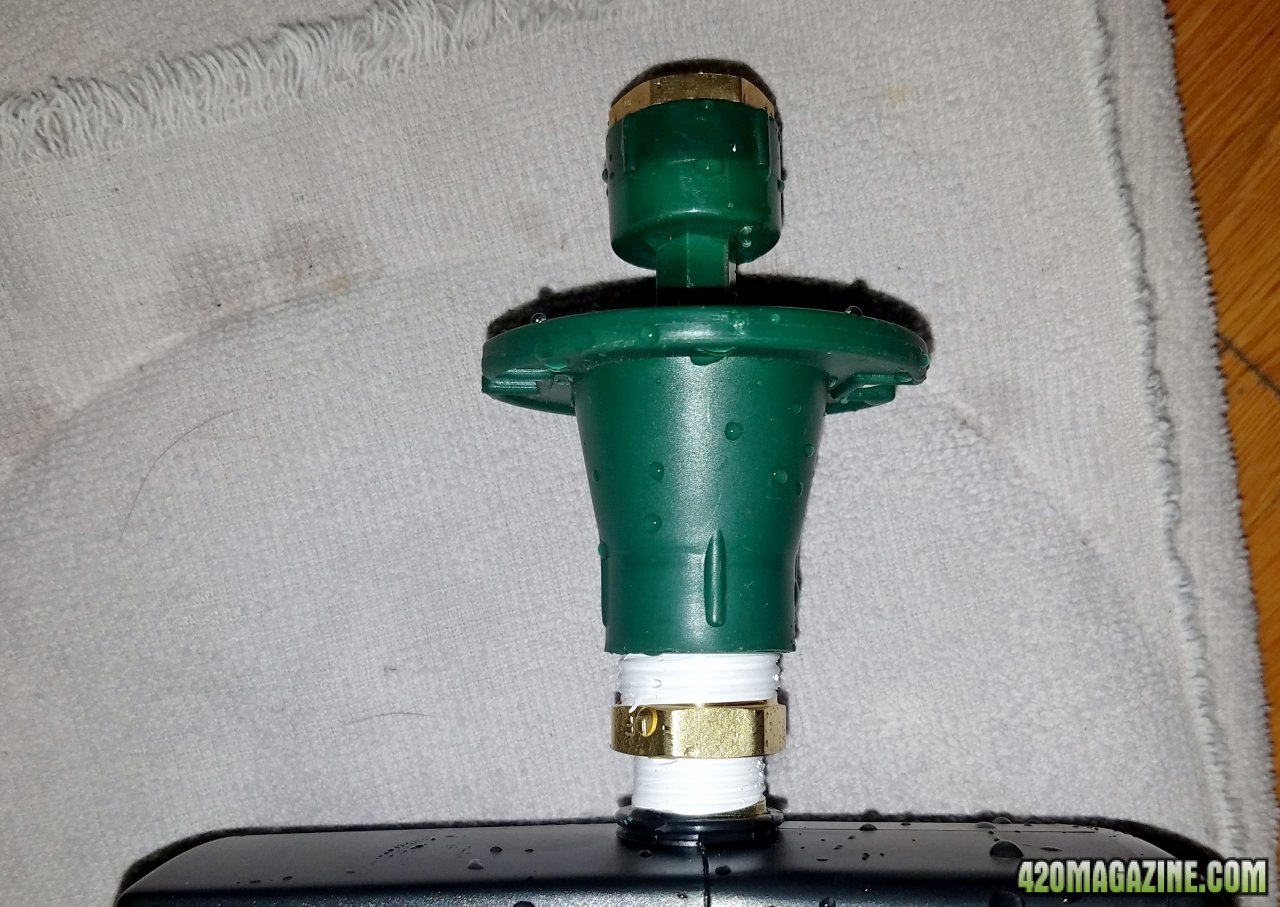
I started with a 2 gallon bucket and lid from Home Depot. I got this pump from Amazon: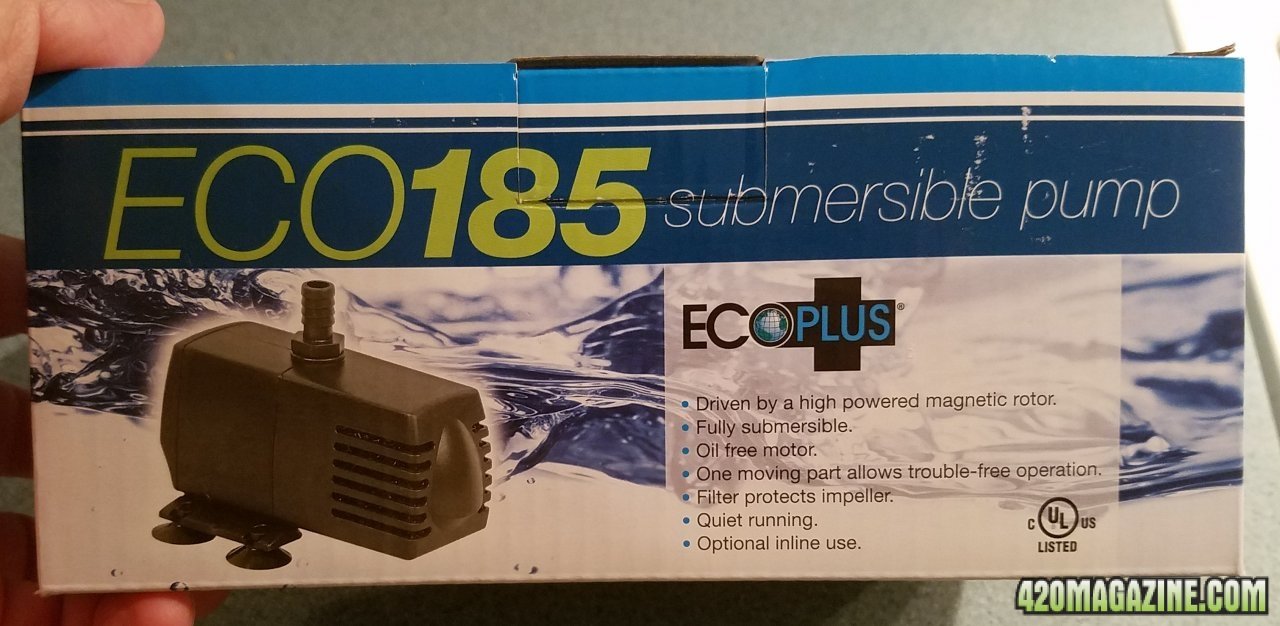
Which came with these adapters: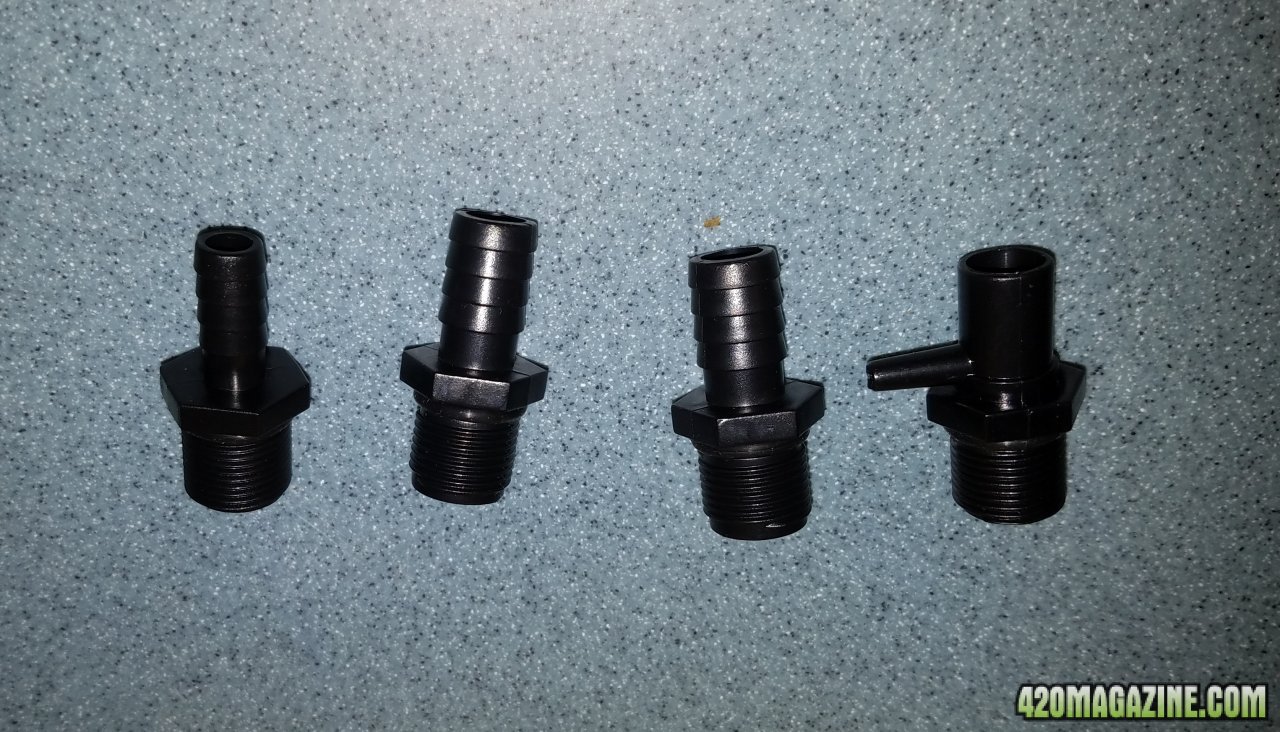
None of which will connect to the sprinkler head, so I had to buy these in brass at Home Depot because they don't carry PVC smaller than ½: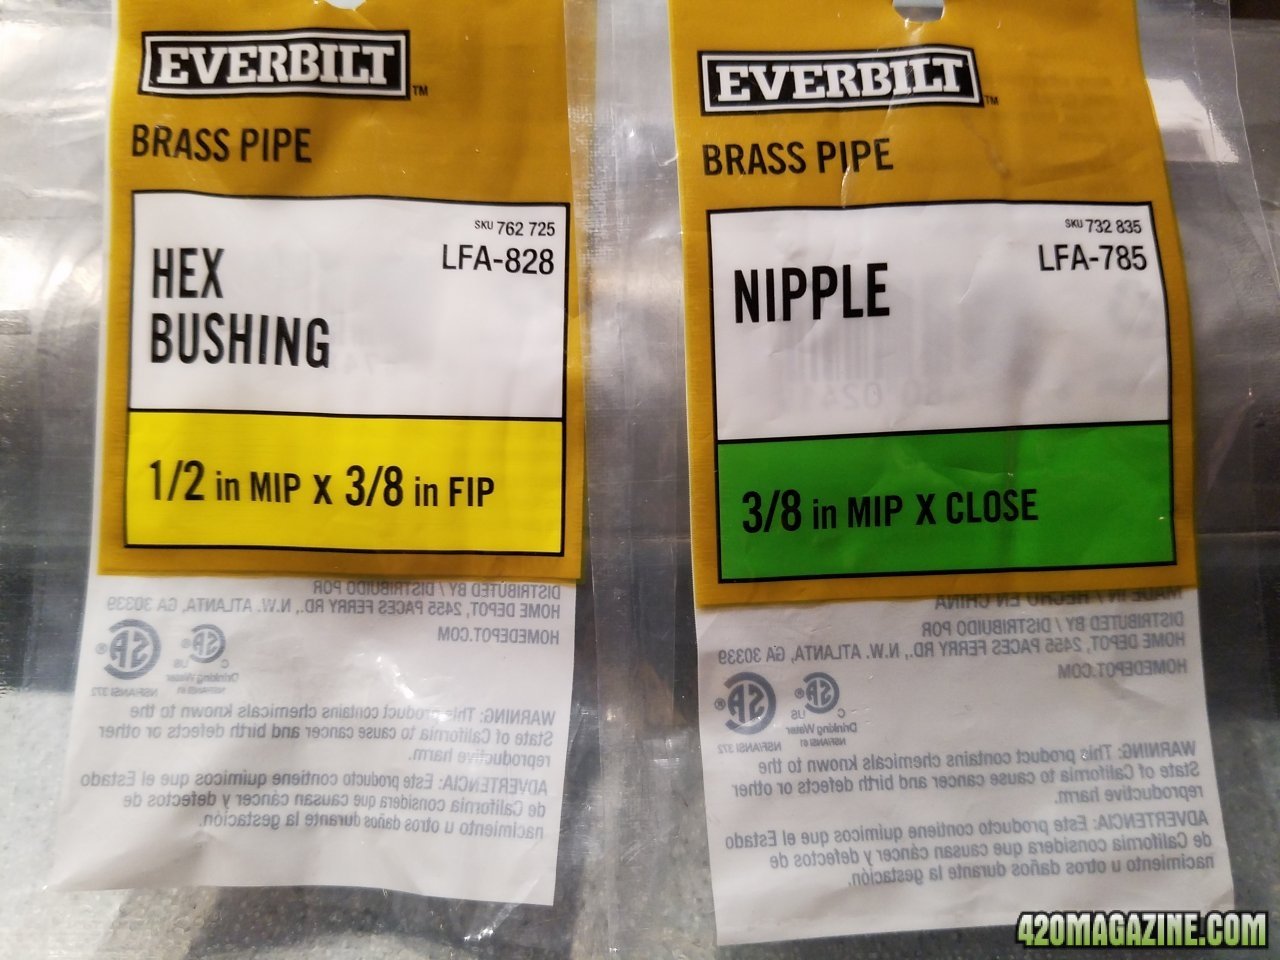
So when it was connected it looked like this:
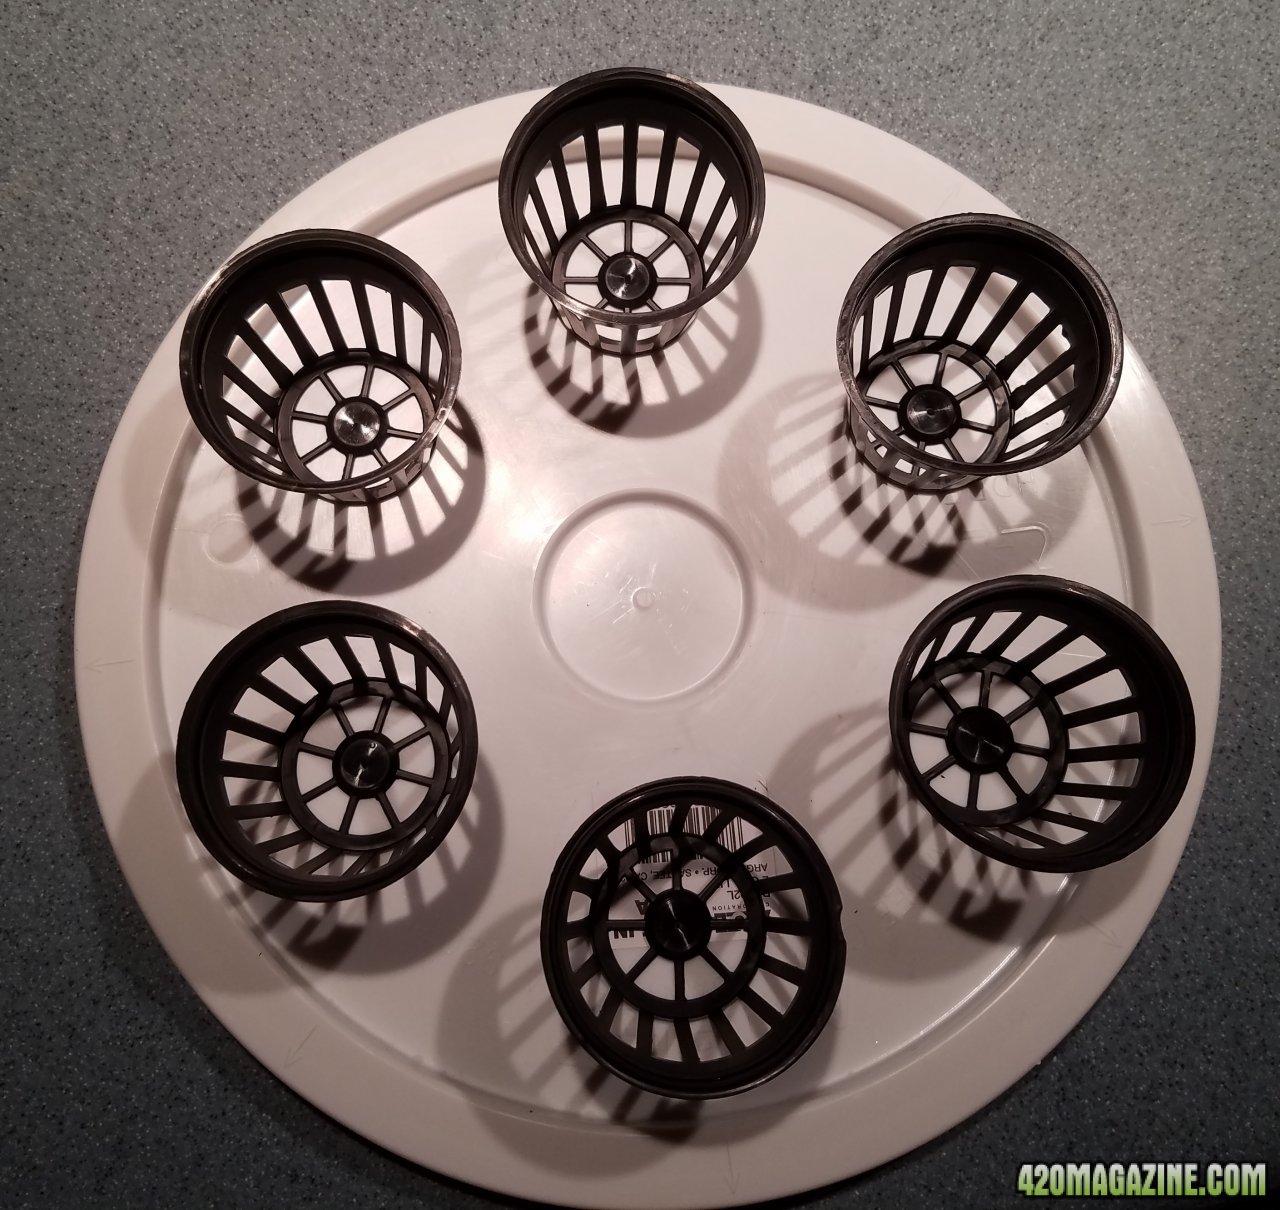
Next I centered the pump in the bucket:

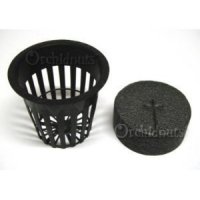
And laid out the 2" baskets from Amazon (they came with the inserts):
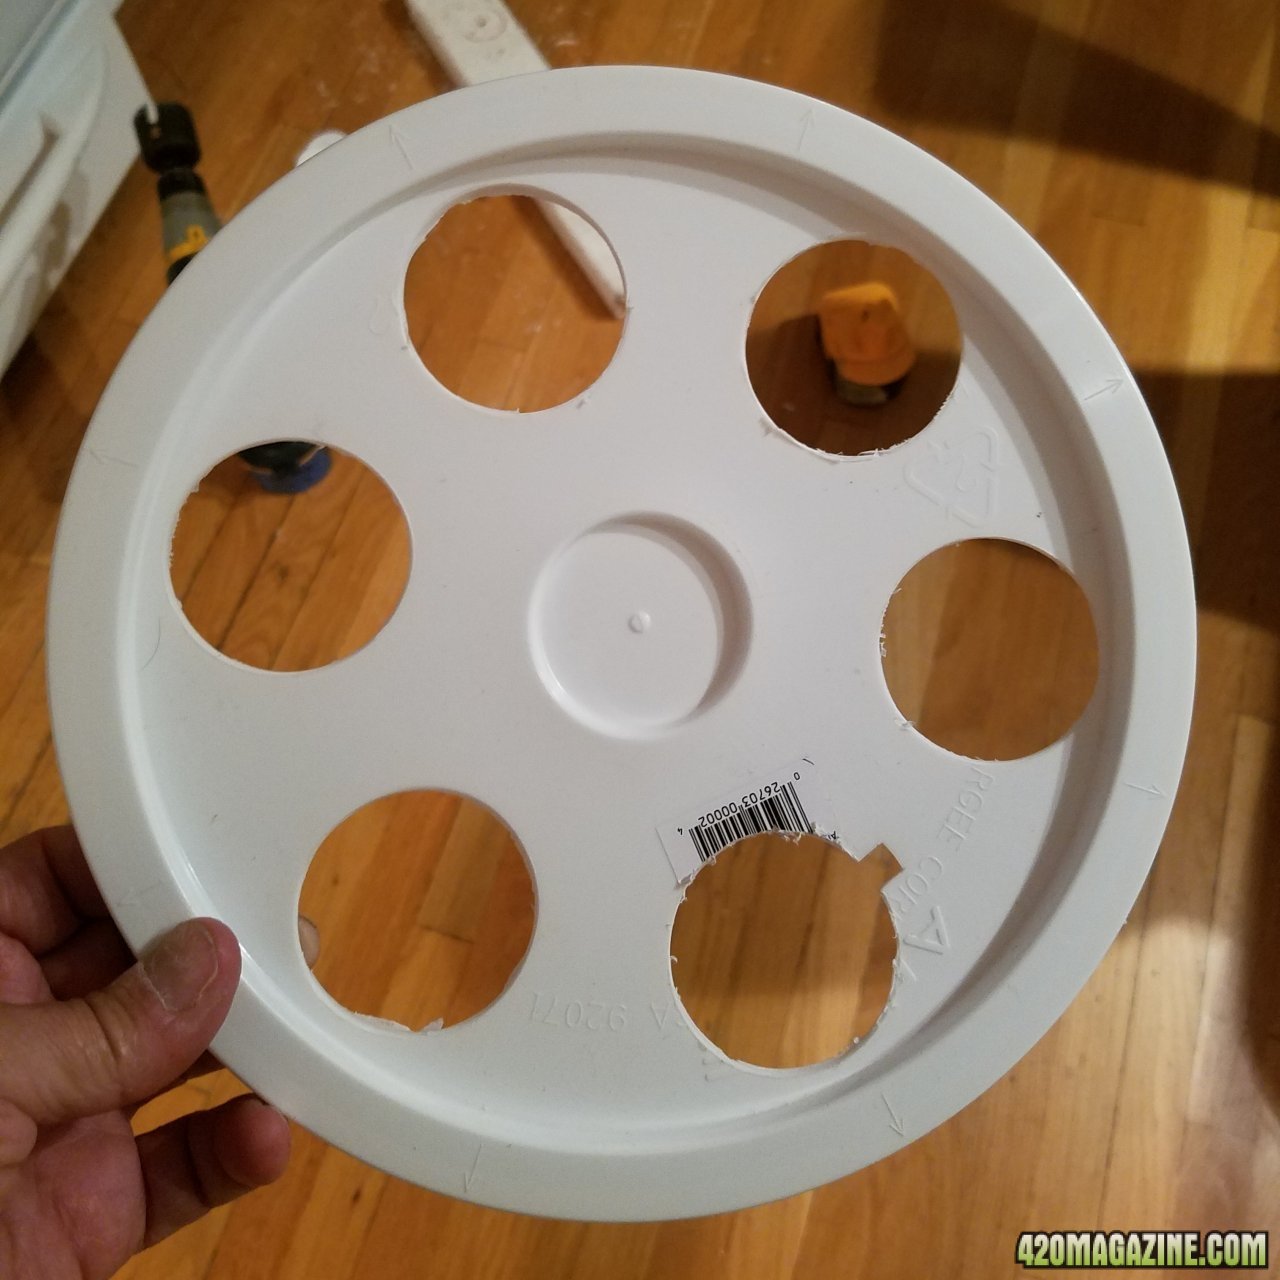
Hole drilling was next. Here is a tip I got from youtube...after you drill the center pilot hole, run the hole saw backward and it makes a much cleaner cut. Here are the cuts and a notch for the wire:
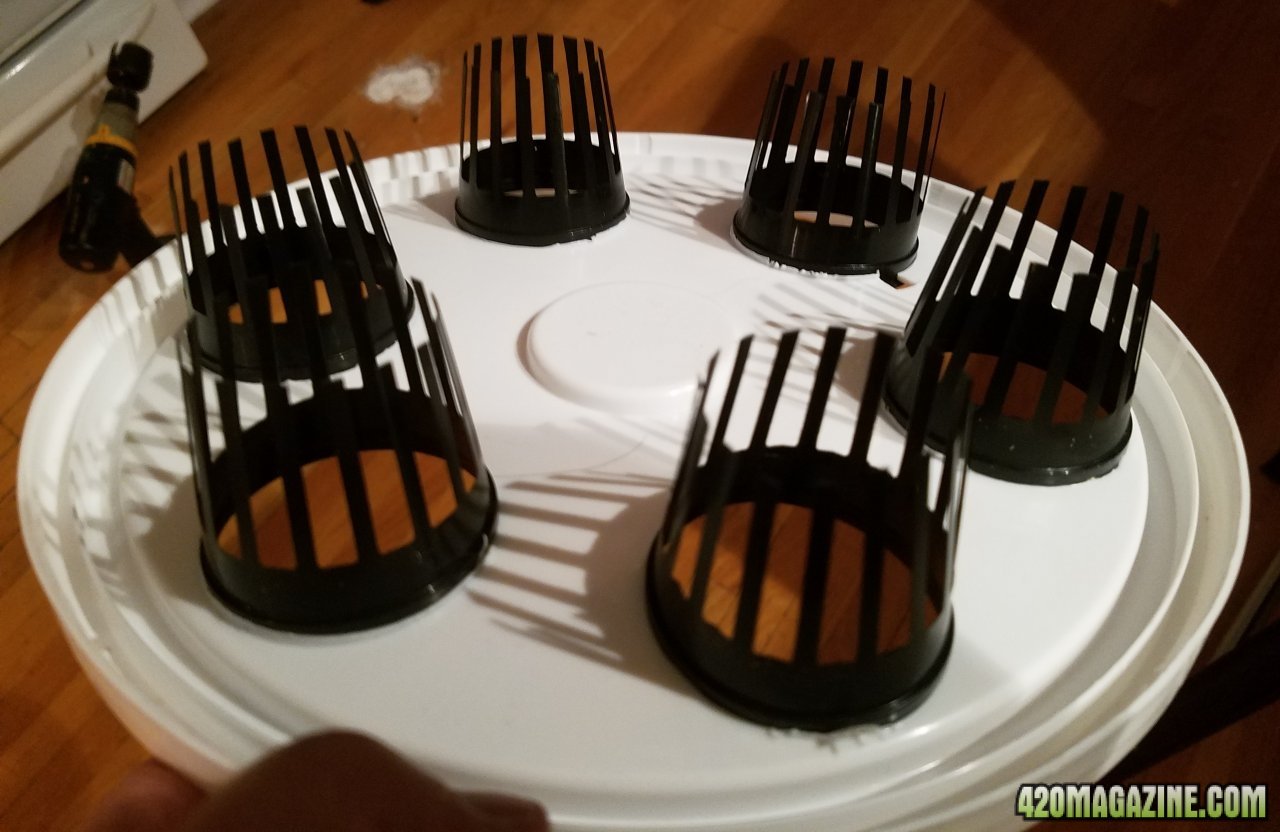
Baskets inserted with the bottoms cut off. It should keep the roots from getting tangled:
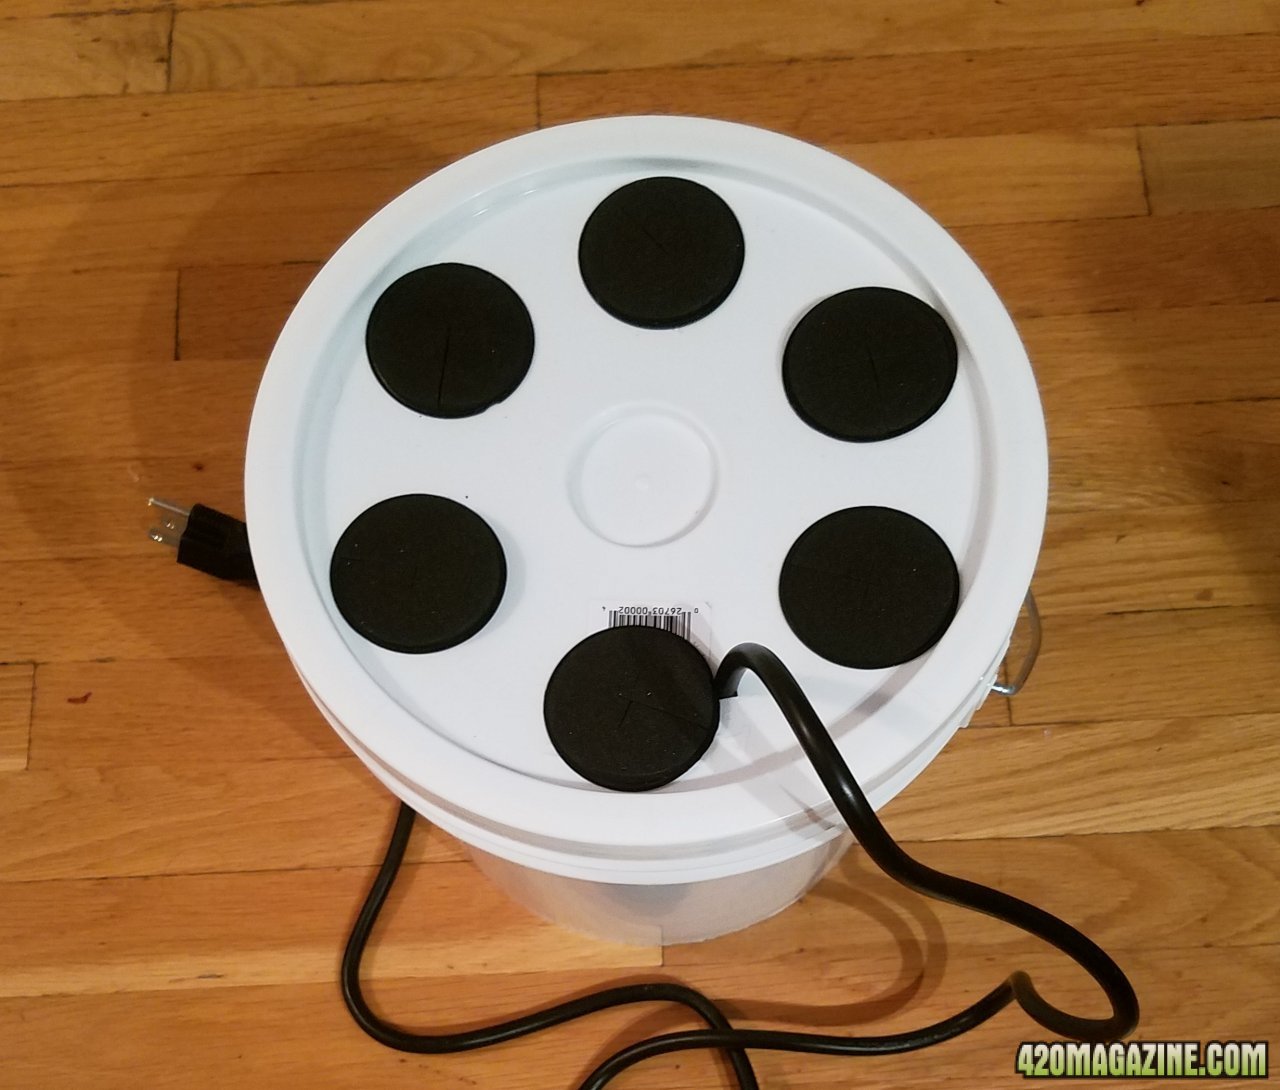
Finished bucket with the neoprene inserts:
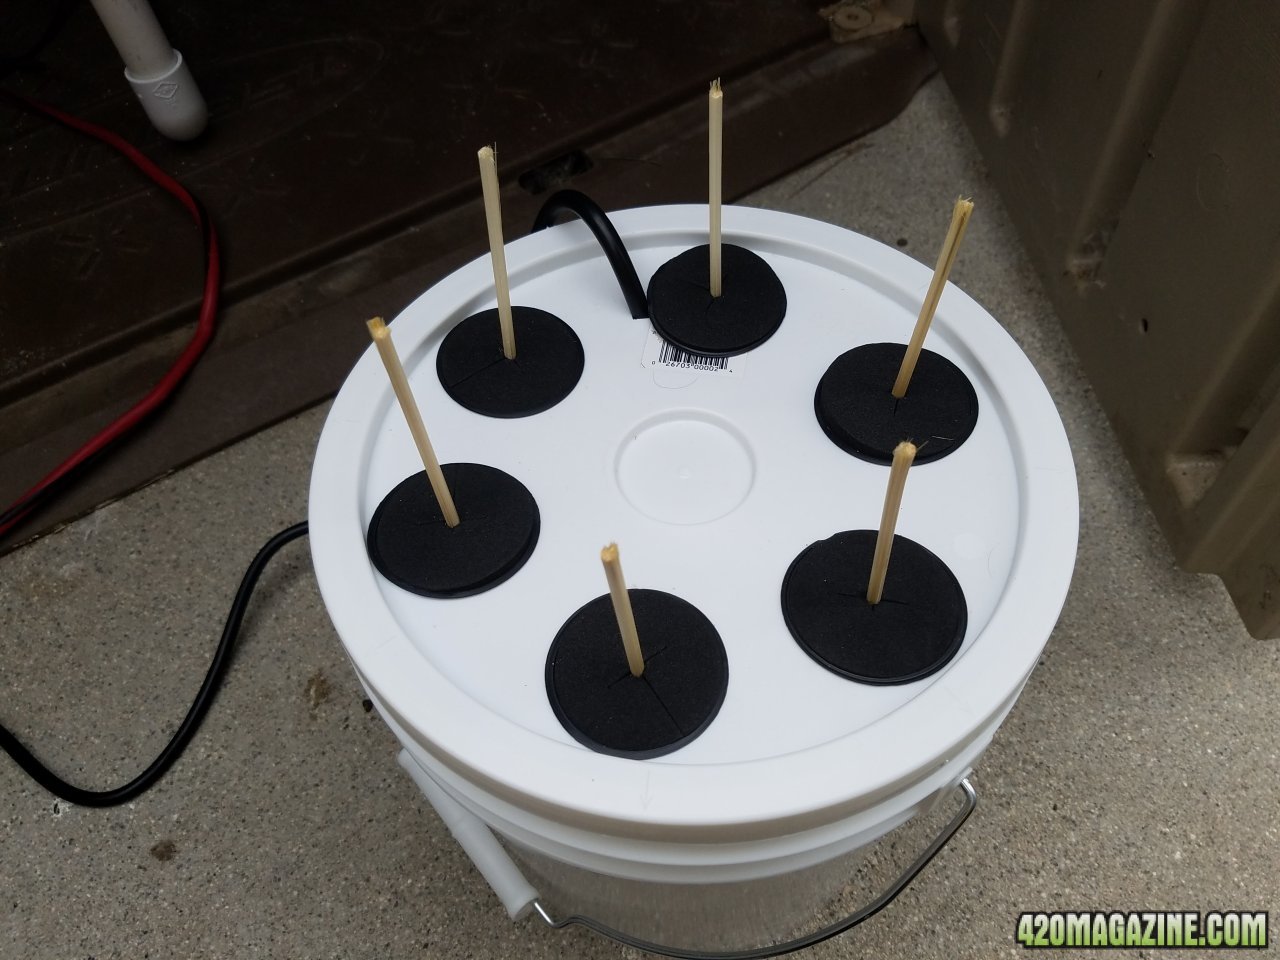
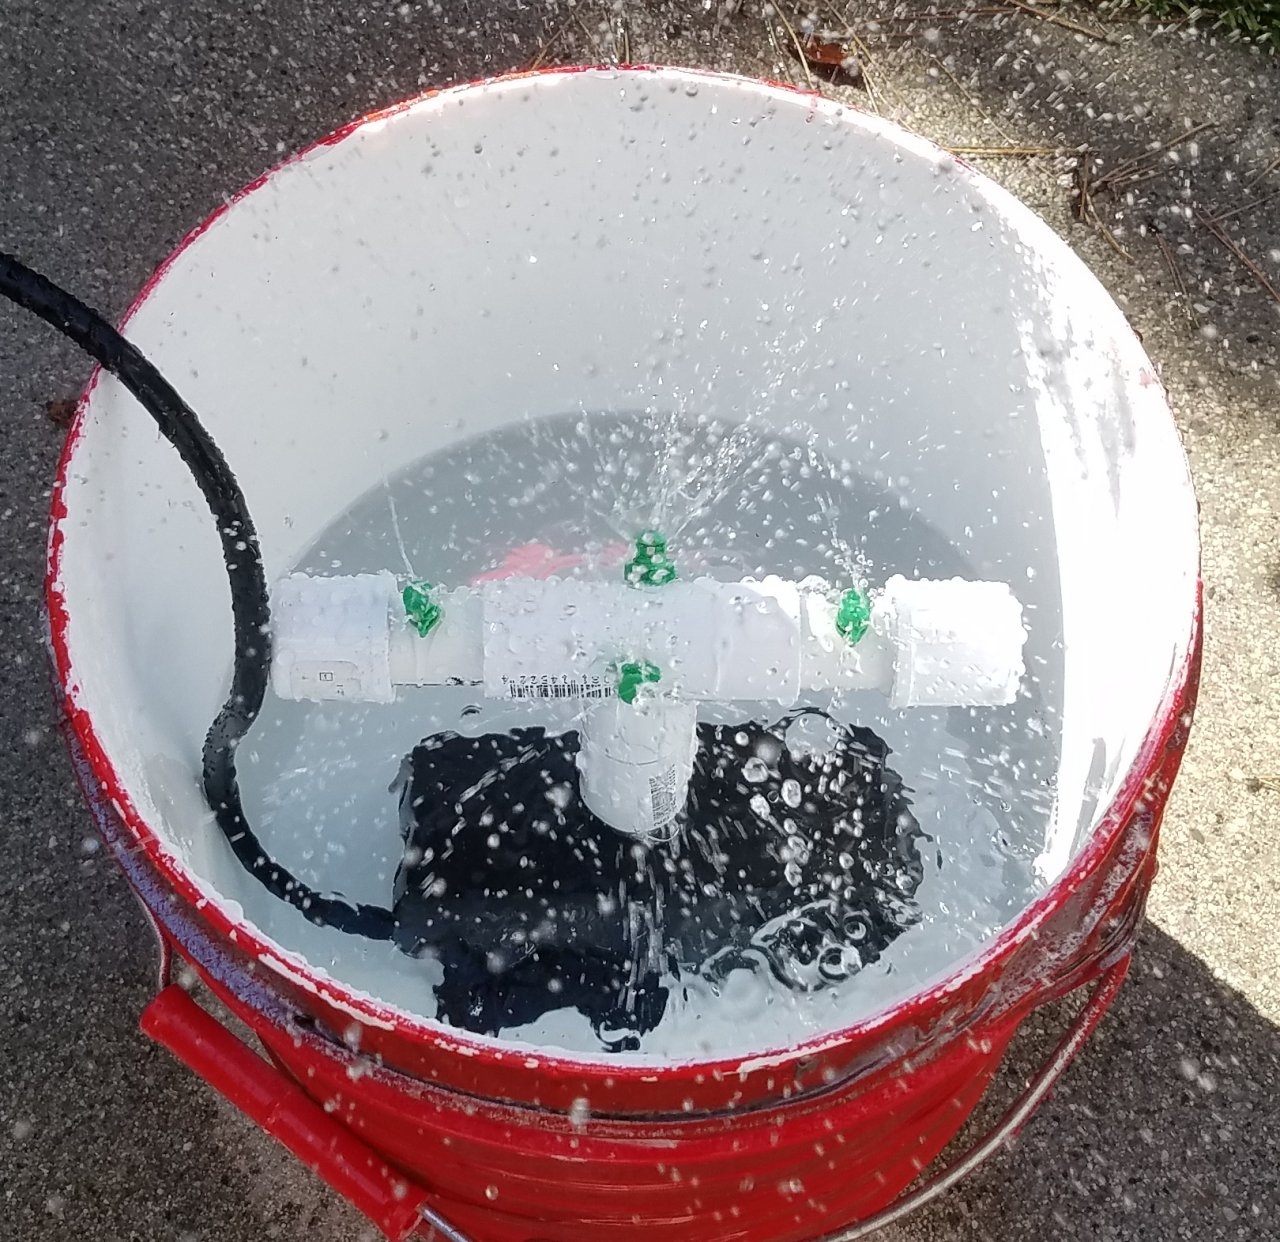
I used barbecue skewers to test the spray:
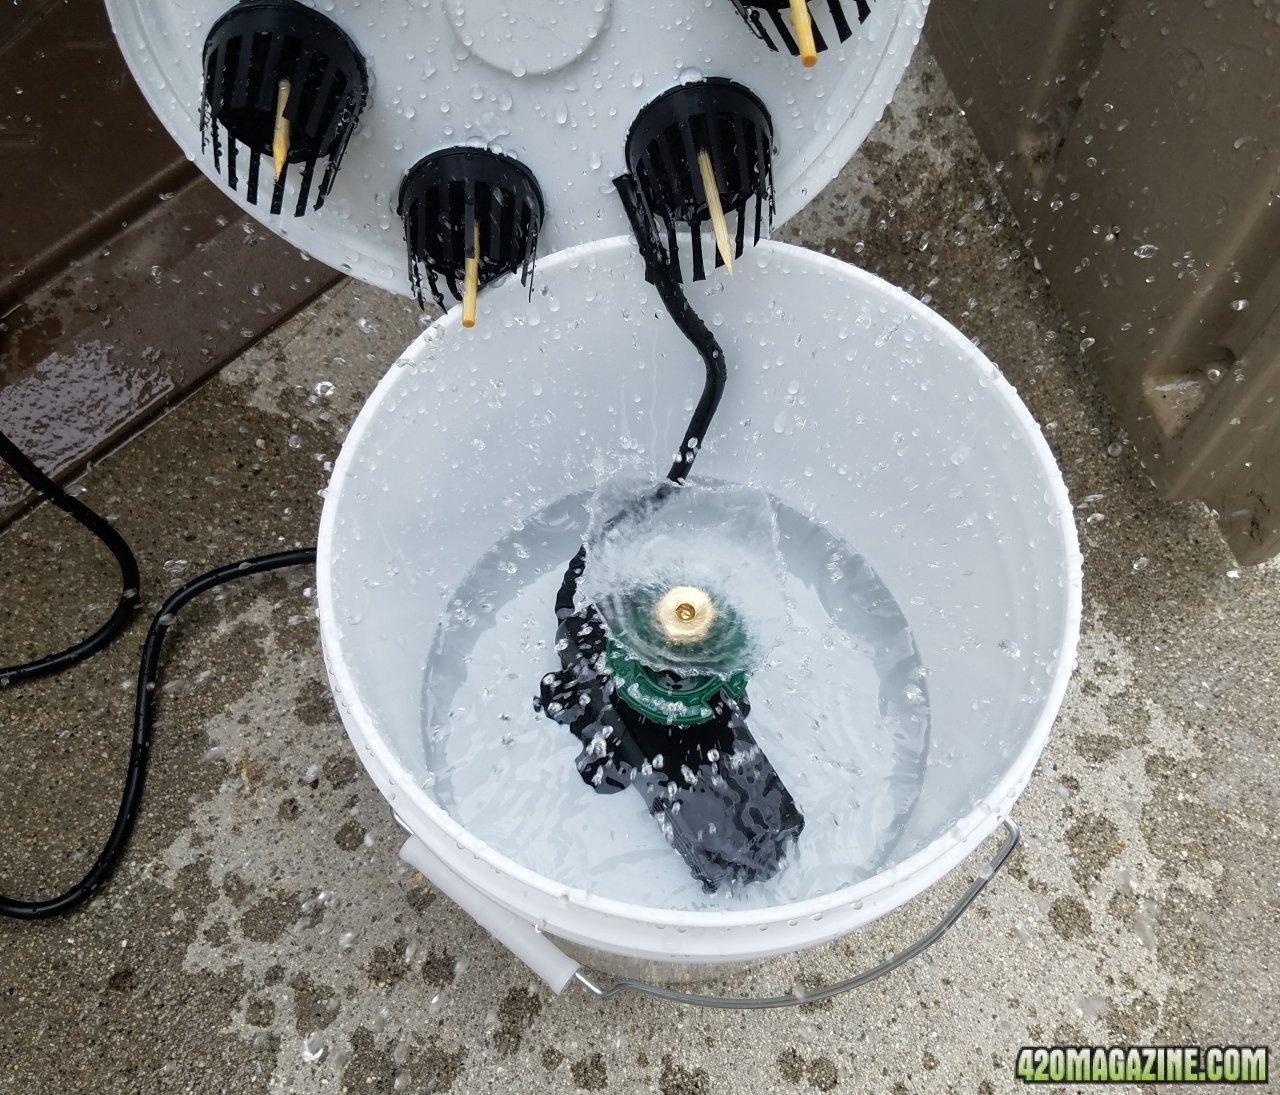
Maximum wetness! I filled the bucket about ¼ full (so around 64 ounces) and added 4 ounce H2O2 since I don't want to buy any z7 etc:
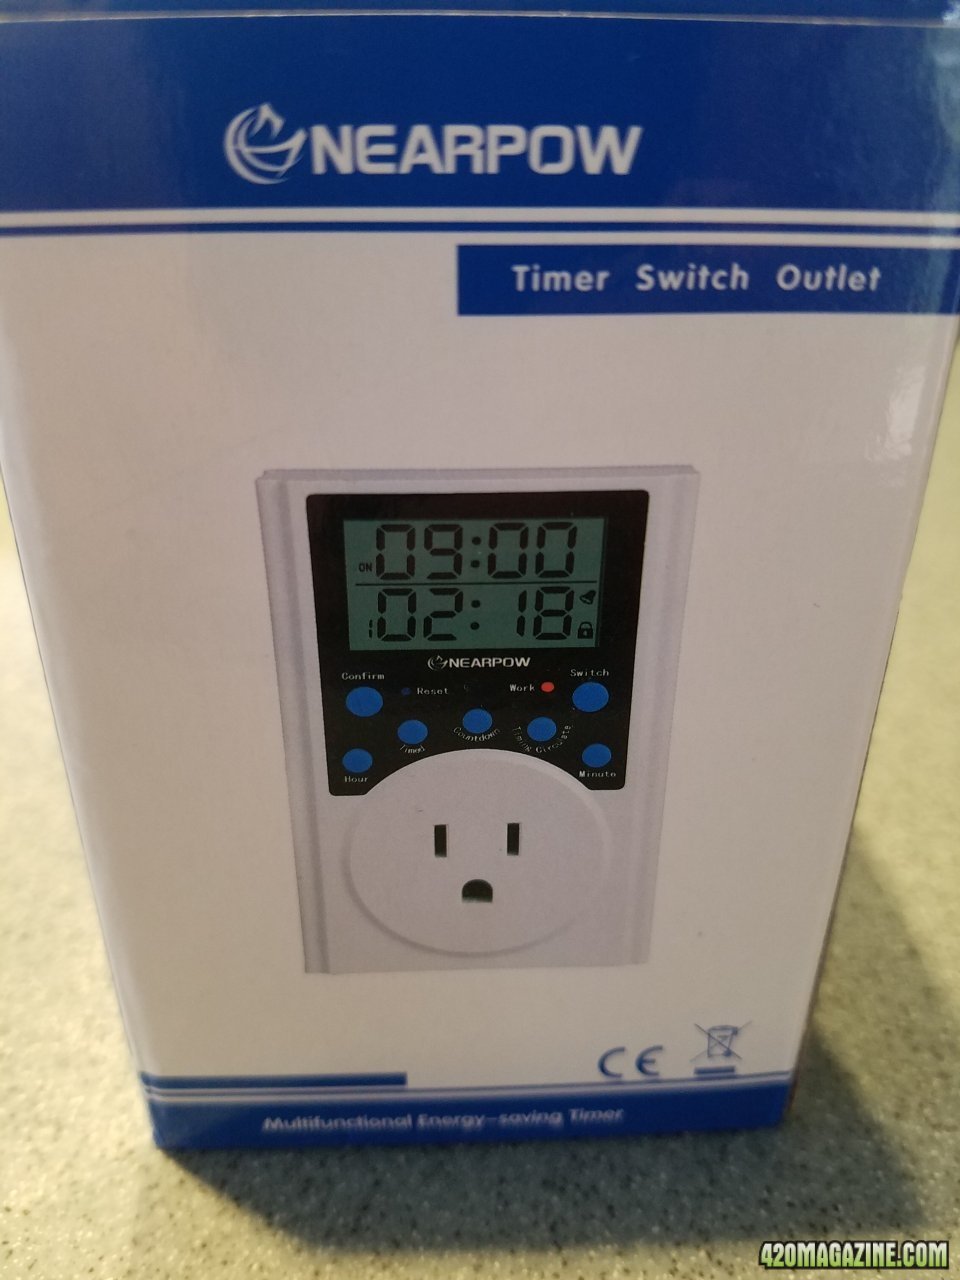
I needed a timer that would do short intervals, so I got this one and set it for 1 minute on / 15 minutes off. I may make that interval longer after a couple of days. Setting the timer was a lot easier than some of the reviews mentioned on Amazon:
I hung a single 23w 6500K CFL over the bucket: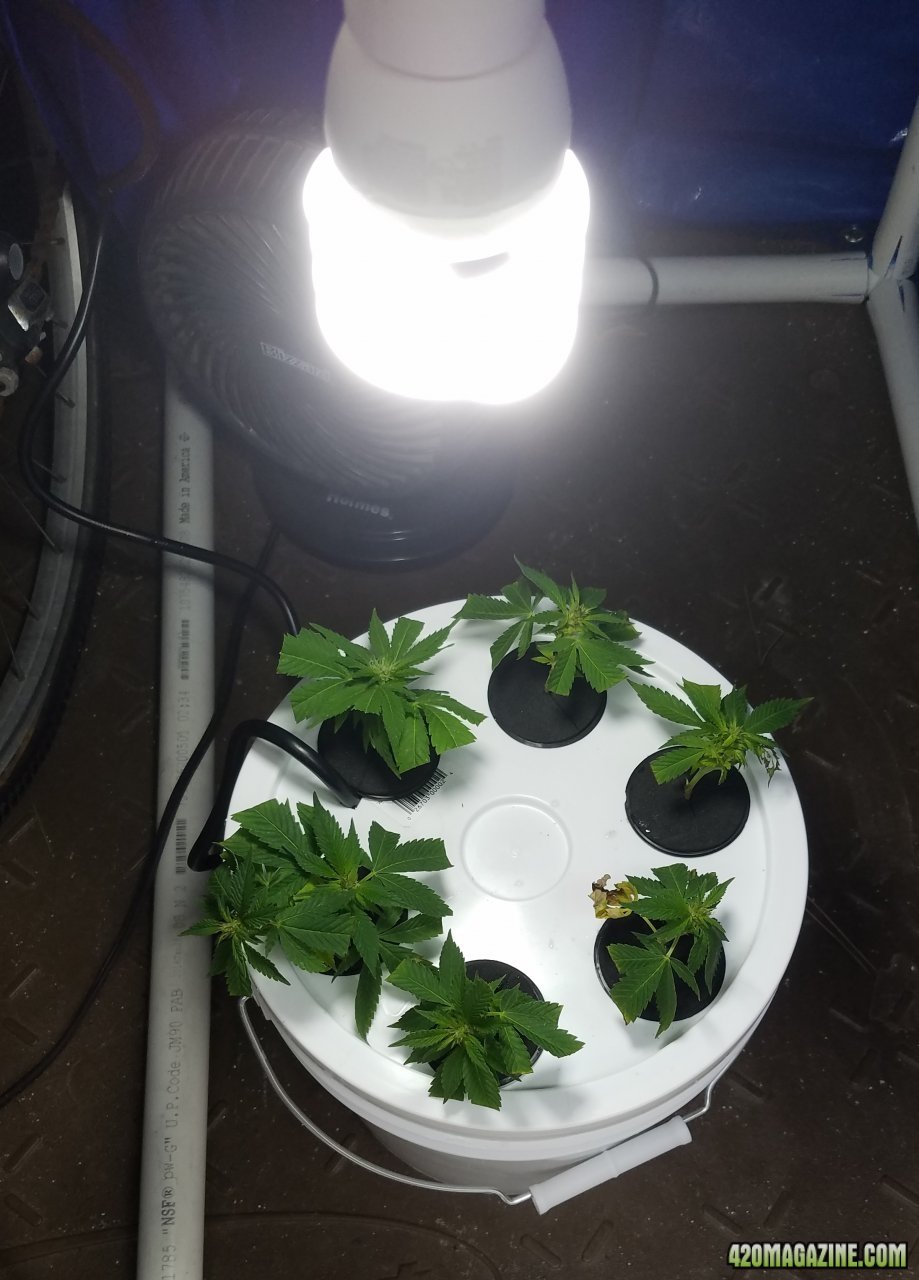
And that's the original! Since I built it I changed the sprinkler system twice, and now I'm using micro-sprayers in PVC:
I also wrapped the bucket in duct tape and spray painted it (red was all I had) to make it more light proof. Did the lid as well.
And now that the weather is cooler I'm having pretty good success. Certainly better than my previous attempts.

Nope, never needed one. Even with humidity down in the 40s some days the tops stay green.CHecking out your sweet cloneator Shed. Do you use a dome?
That's a real nice rig. I could put a rooted cut from there into soil ok?Nope, never needed one. Even with humidity down in the 40s some days the tops stay green.
Absolutely! I grow everything in soil. I got a great tip from Norcaliwood to let the roots get long in the cloninator with loads of fishbones, and not try to plant too early. Then I just put 2" of ProMix HP in a clear solo cup, hold the cutting so the roots are resting on that soil, and gently (so as not to tear any roots) sprinkle soil around the dangling roots until I've buried the bottom of the stem. Then I gently (have I mentioned gently?) pack the soil down to make sure the roots are getting good contact and water with distilled water until it pours out of the holes in the bottom. The clear cup gets slid into a solid colored cup and it goes on the 80ºF heat mat under a 23w CFL until the cup fills with roots. That's when I up-can it to a 1 gallon.That's a real nice rig. I could put a rooted cut from there into soil ok?


I'm not seeing any water or sprayers in there. Am I missing something? I'm handing off some aero-cloner-rooted cuttings to a hempy grower later this month. Straight into the perlite, all water roots from the get-go.Along the same line as yours but for soil and hempy here.
Cooler temps and a good design was what it took for the cloninator. And patience. I've got a hard-to-clone strain with my Sour G.Thanks, that's on the list. I've read your awesome cloning journal and see you're like a ninja cloner now. Nice
I'm not seeing any water or sprayers in there. Am I missing something? I'm handing off some aero-cloner-rooted cuttings to a hempy grower later this month. Straight into the perlite, all water roots from the get-go.

Cooler temps and a good design was what it took for the cloninator. And patience. I've got a hard-to-clone strain with my Sour G.
You read that right! 2 gallons.Is that bucket really 2 gallons or did I read it wrong?
But it doesn't need to be a bucket because there's no water, right? A cardboard box would do the same thing?It’s a bucket cloner if you don’t have a designated tent or other area. Not hydro but just showing a same principle option for those not into hydro that works.
If you got takers that's a great idea! I have a hard time finding growers to take the overflow with the my little bucket.Nice setup, I kind of went over board on my cloner, 34 sites, but I can't use that many. I will be giving large number of them away.


Nope, never needed one. Even with humidity down in the 40s some days the tops stay green.
First time around with this unit, so jury is still out. 5 days in.

That one with the blue arrow seems too big for a cutting. Looks like it's 4" above the top. I'd cut that down to the height of the middle one. Even at 11% RH I don't think you should spray unless they look crispy. The idea is that they get all their moisture from down below.
I found running 24/7 made the water too warm. If you have an ice pack or a frozen water bottle, put that in and replace it when it melts. You're better at 65 than 70.
And slide the pump over so the hose bib is in the middle, just in case symmetry matters!

Essentially you built your own little ezcloner, this is about the same principle they useHow to build my cloninator aeroponic cloning bucket! This is the original but I've made a few modifications since then. I'll put those at the end in case you'd like to try them.
I started with a 2 gallon bucket and lid from Home Depot. I got this pump from Amazon:
Which came with these adapters:
None of which will connect to the sprinkler head, so I had to buy these in brass at Home Depot because they don't carry PVC smaller than ½:
So when it was connected it looked like this:
Next I centered the pump in the bucket:
And laid out the 2" baskets from Amazon (they came with the inserts):
Hole drilling was next. Here is a tip I got from youtube...after you drill the center pilot hole, run the hole saw backward and it makes a much cleaner cut. Here are the cuts and a notch for the wire:
Baskets inserted with the bottoms cut off. It should keep the roots from getting tangled:
Finished bucket with the neoprene inserts:
I used barbecue skewers to test the spray:
Maximum wetness! I filled the bucket about ¼ full (so around 64 ounces) and added 4 ounce H2O2 since I don't want to buy any z7 etc:
I needed a timer that would do short intervals, so I got this one and set it for 1 minute on / 15 minutes off. I may make that interval longer after a couple of days. Setting the timer was a lot easier than some of the reviews mentioned on Amazon:
I hung a single 23w 6500K CFL over the bucket:
And that's the original! Since I built it I changed the sprinkler system twice, and now I'm using micro-sprayers in PVC:
I also wrapped the bucket in duct tape and spray painted it (red was all I had) to make it more light proof. Did the lid as well.
And now that the weather is cooler I'm having pretty good success. Certainly better than my previous attempts